
Easy DIY Painted Vent hood
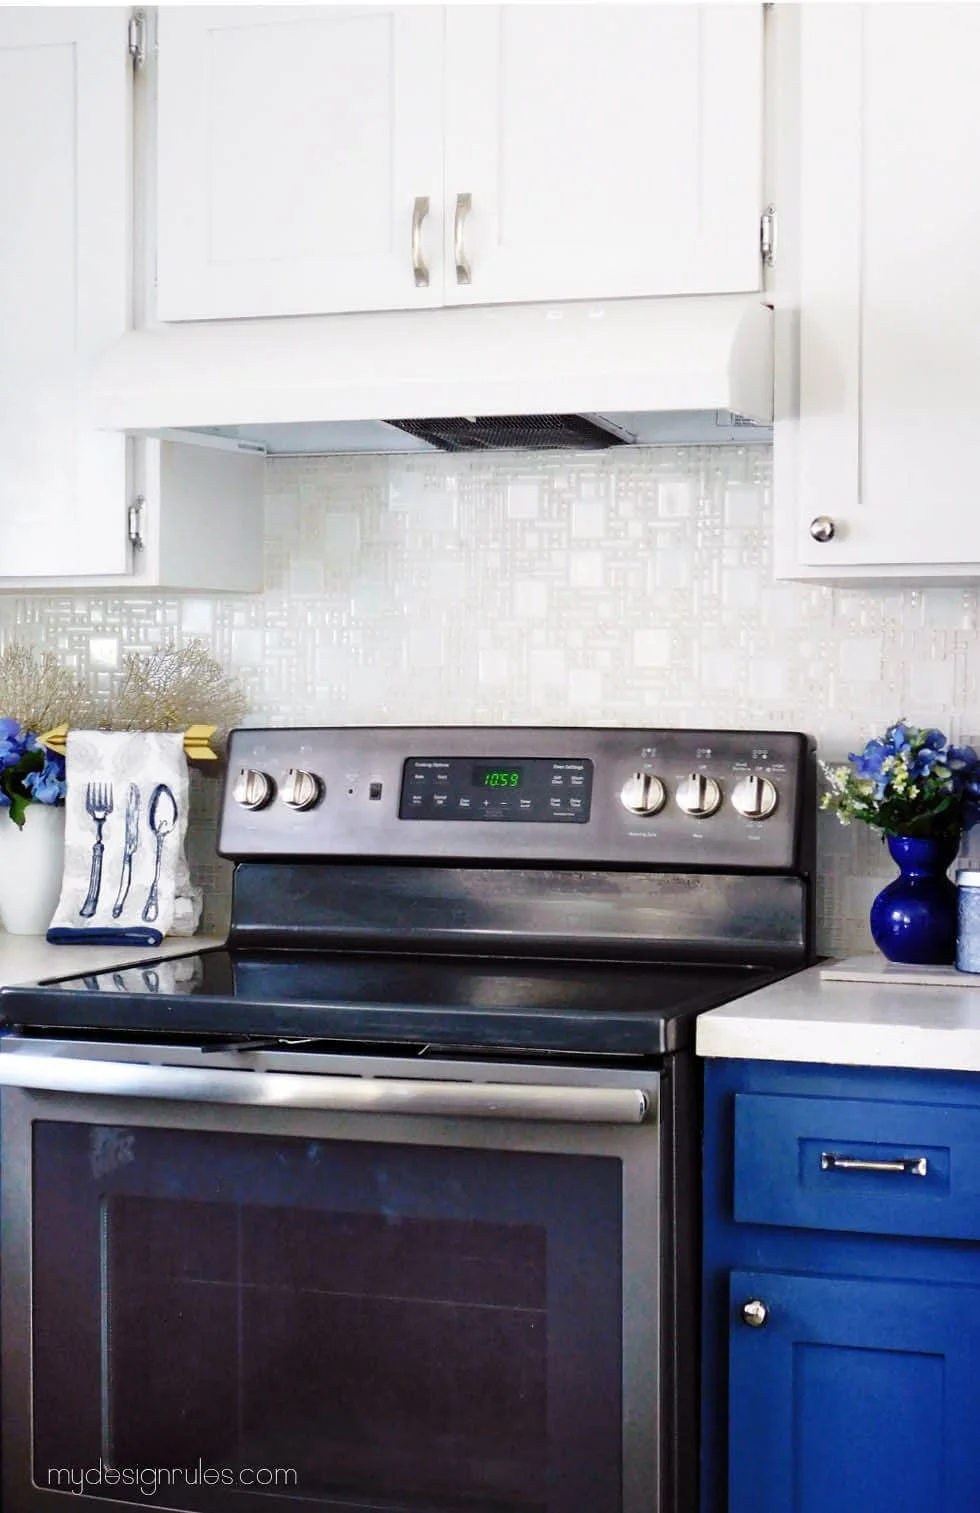
You remember the kitchen I was making over way back when? I still have some projects I haven’t shared, one being this simple painted vent hood—a makeshift temporary fix until I decide to tackle making a real wood one. This budget friendly project cost me less than $50—including the actual hood.
Why I painted my metal range hood

There was an eyesore in the kitchen that I had to get
It served as my vent for more than 13 years. Never mind that the actual microwave didn’t work. (Hence why there are two in the photo.) For years, I was afraid to take it down because I honestly had no idea how to even approach it. It was huge and daunting and I was afraid it might vent to the outdoors. Read: I was totally clueless.
In reality, a lot of projects in my home went undone simply out of ignorance before I began researching how to take care of them myself. Lesson: Take the time to learn basic skills that transform your home and don't be afraid to do a little research.
A few YouTube videos and I figured out how to take it down. But, of course, I still needed a vent hood and umm with my budget, there was little room for a fancy range hood . Storage is an issue in my digs, so I needed that cabinet space above my stove. That prevented me from

I purchased this VERY inexpensive one but it was white and my upper cabinet
Here's my kitchen after I added shaker style trim and painted them. While it looked much better, that monstrosity of a microwave had to go.
Related: The Best Paint for Laminate Kitchen Cabinets
So my next budgetoption: get a small cheap vent and paint it.
Can you paint a metal range hood?
Well, the answer obviously is yes BUT you should know a few things.
I figured I could get away with using a super good primer and the same paint I used on my cabinets. Was it the best choice? Probably not but it’s what I had. And it worked.
It’s held up just ok. There are some nicks and scratches,but overall, I’d do it over in a heartbeat.
What you need top paint your vent hood
- Paint (yep, I just used Sherwin Williams ProClassic)
- Sanding Block
- Sherwin Williams Extreme Bond Primer
- Foam Roller
- Painters Tape
Top coat ( I used Benjamin Moore Stays Clear in low lustre)
Steps to paint a metal range hood.
- Scratch up the surface a bit. Metal is persnickety about taking paint—especially the Sherwin Williams Proclassic... not totally rated for use on metal. So use a 220 grit sanding block to scuff it up. Sanding will help the paint stick to your surface a little better. You are not grinding, pressing hard or spending a lot of time doing this. Just give it a good, light once over.
- Tape off any buttons and areas you don’t want to get paint on.
- Give it a good coat of primer. Let dry, wait 4 hours and add another coat.
Next coat your vent in your chosen paint. Two coats should do it.- I added a top coat using Benjamin Moore Stay Clear, the same topcoat I used for my cabinets but a heavy duty one would probably be better. I
didn’t want to the topcoat to turn any other color so I stuck with the Stay Clear.
Easy peasy pudding pie.

This was a simple range hood makeover…paint is all it took.It’s not the prettiest but it looks so great over the alternative white hood.

I guess I could have gone with the matching gray GE hood but I preferred the clean look of one cohesive color across the top of my kitchen cabinets.

If you don’t have a hankering about a color match you can easily just buy the high heat paint for metal surfaces or appliance paint. But if you need a custom paint, go ahead and use a super great primer and hard as nails paint. It won’t last a lifetime, but it will be pretty in a pinch.