
DIY Window Valance for a Polished Look
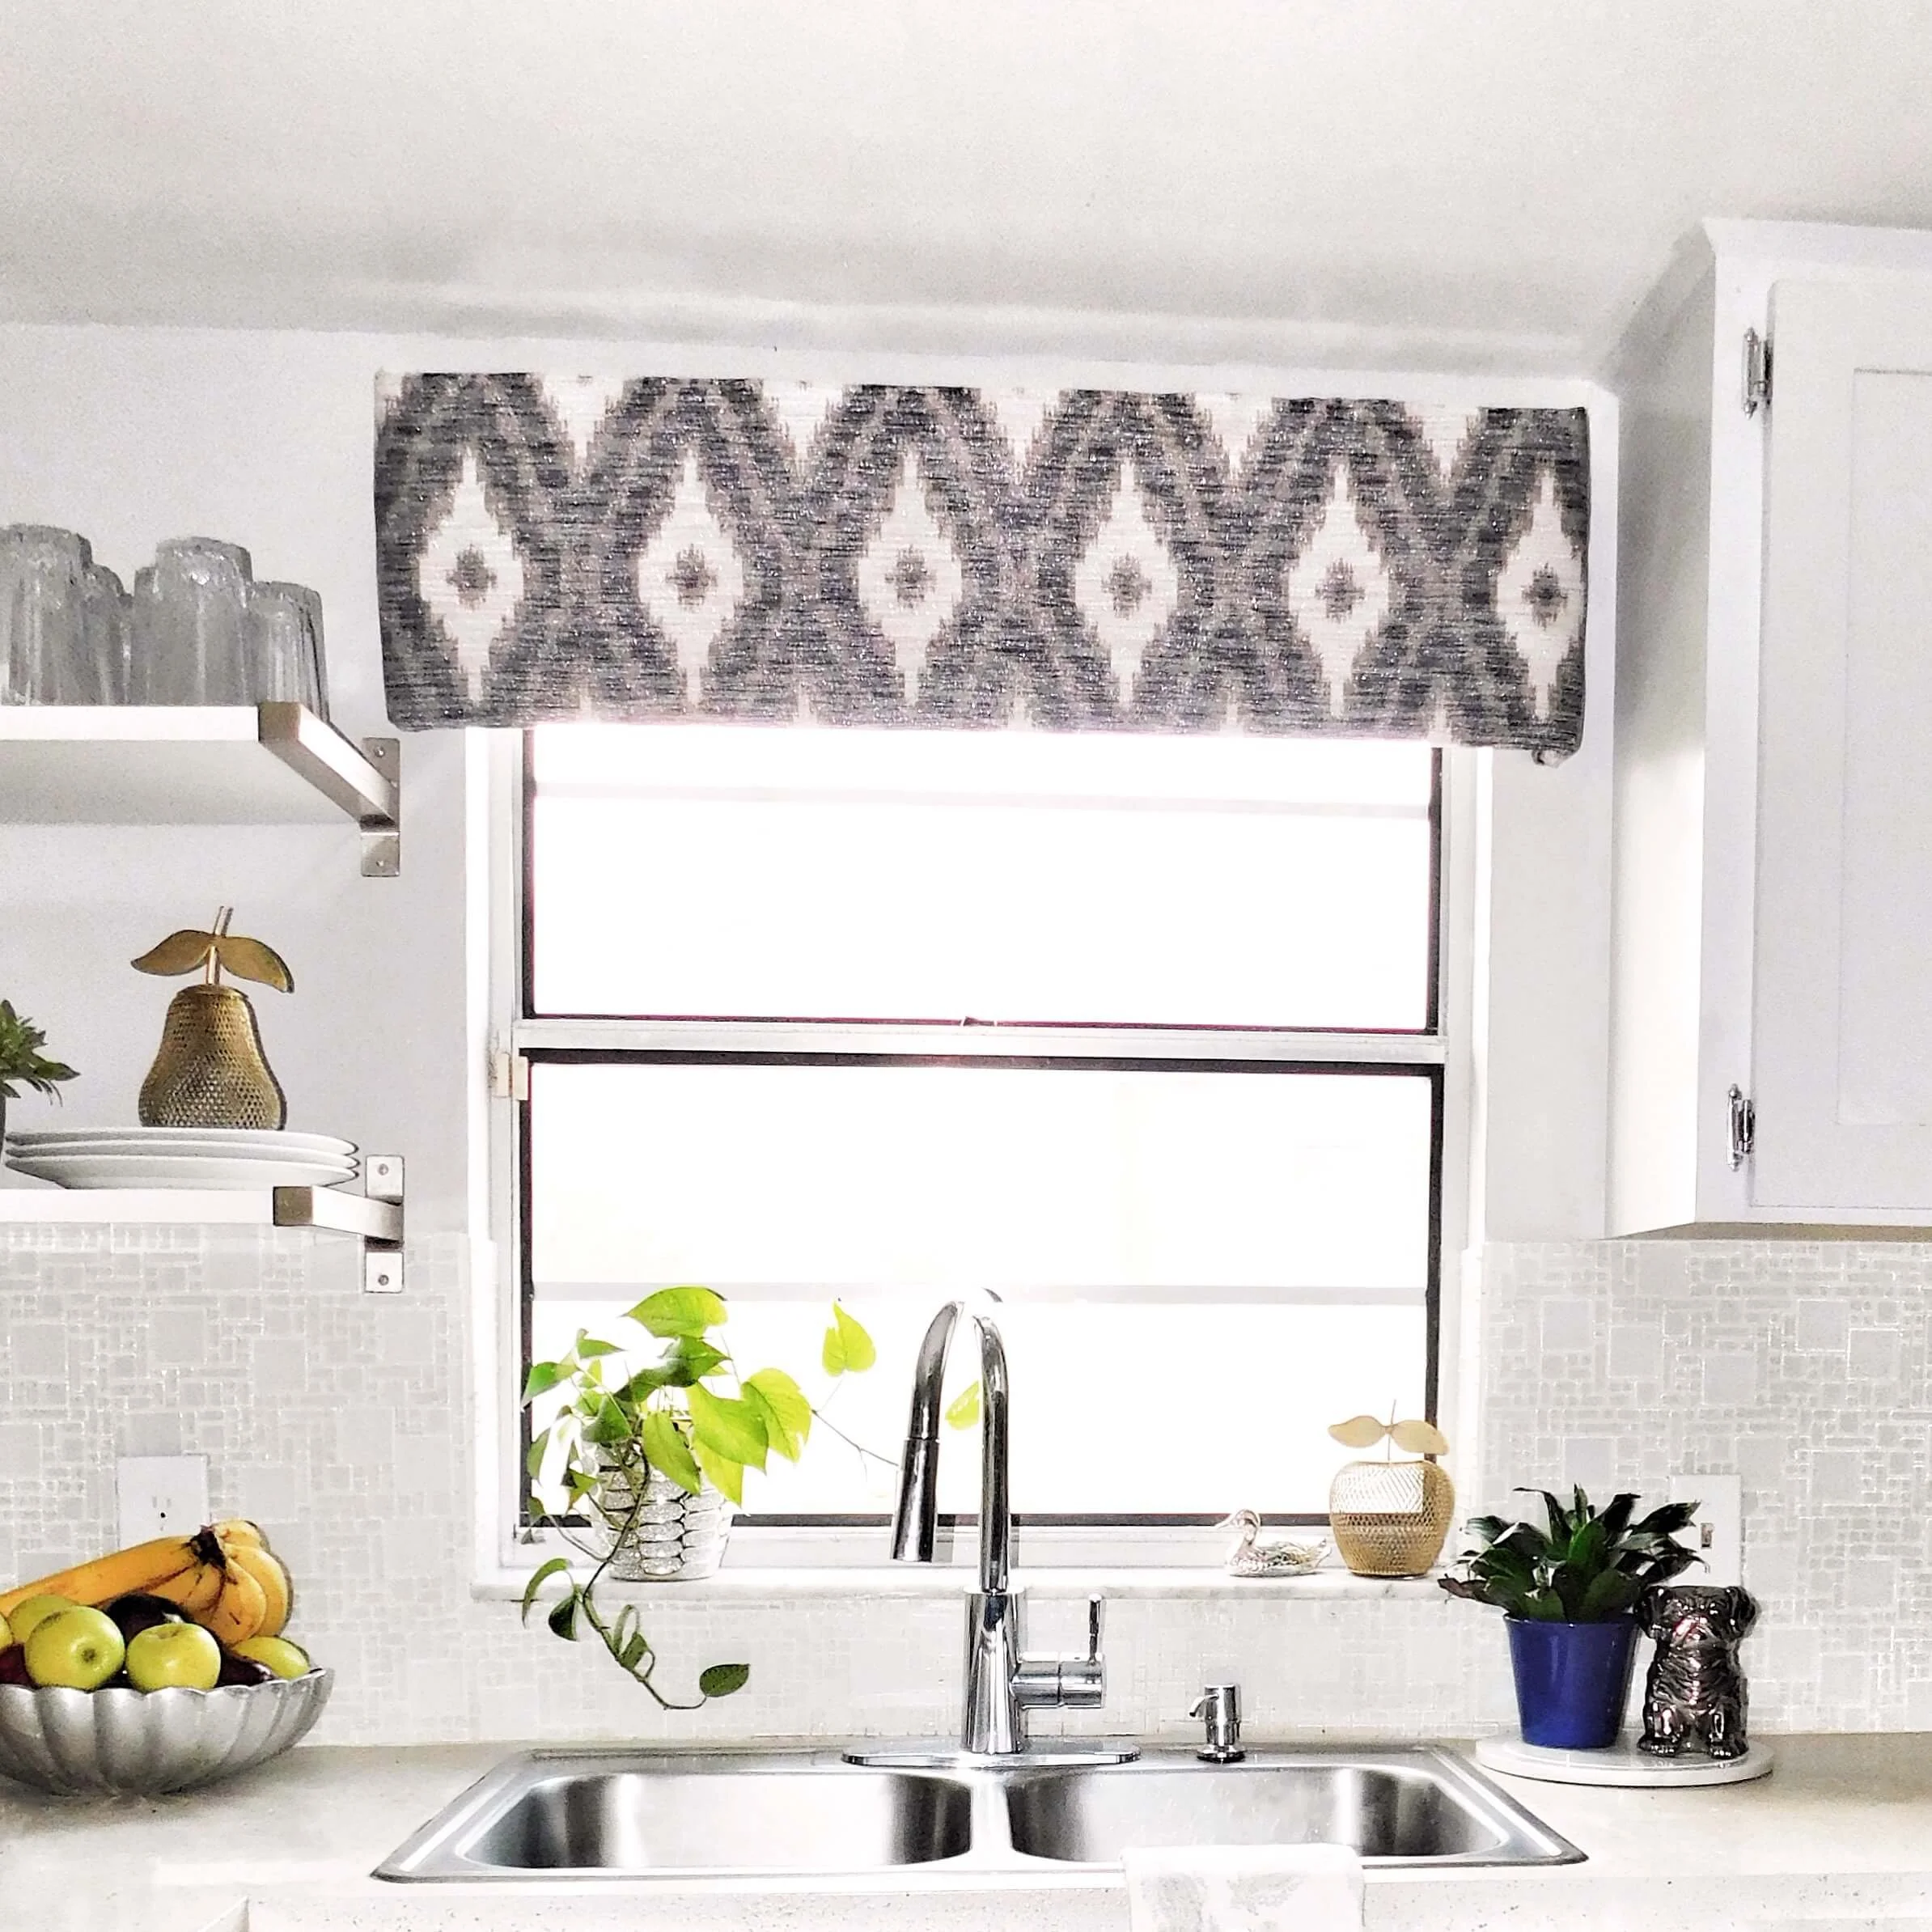
Welcome to the March Pinterest Challenge Blog Hop, hosted by My Pinterventures. The purpose of this Pinterest Challenge is to motivate all the participants of this hop (and you) to not just pin, but to make it happen! So this month, I chose to make a simple DIY window valance for my kitchen!Pinterest is a breeding ground for creativity or a graveyard for big ideas never materialized.So, how many pins do you have saved on Pinterest? Last time I checked, I had about 3,000. Yes, 3,000 pins and I’m not even considered a power pinner. Of the 3,000 pins I’ve saved, I probably have tried about 100. That’s like what a less than half a percent? Some pins are obviously just for inspiration like the dream home of 10,000 square feet or the waterfall bathroom.This post contains affiliate links. If you click on a link and make a purchase I earn a small commission to help me run this site at no cost to you. Thanks for your support. Read my full disclosure here. I try about 20% of the food recipes I pin but er umm…those DIY Pins. We’ll let’s just say I have good intentions.BUT this week I’m sharing a pin I actually tried. Yay me! And I highly suggest you give it a shot. It’s a very simple window treatment that adds just enough interest without inhibiting light. I made a simple valance using the instructions. But as any DIY goes, it was NOT without hiccups. And that’s because I didn’t follow the directions exactly as the pin described. More on that later.I created a DIY window valance for my son’s room using another Pinterest pin…This one was made from foam and straight pins. I could have made the kitchen one out of foam too, but I wanted to be able to remove it for seasonal decorating. I love hanging garland and signs over the sink. That foam window valance is very delicate. It’s held together with straight pins and Command strips. I won’t be taking it down until I’m ready to get rid of it.For this window valance, I used leftover MDF from adding trim to my kitchen cabinets. Joann Fabric and Crafts treated me to an awesome sale on the beautiful fabric. I walked out of there with a yard of fabric that originally cost $50 for $18! (pats self on the back). Learn how to save money at JoAnn's! here.
So here's the pin I tried from Shine Your Light Blog.
(I didn’t follow her instructions totally because my board was so thin. I didn’t use a drill—only my nail gun.)Anyway, here’s how it went down.
Supplies to make an Easy Window Valance or Cornice –(whichever term you prefer)
- MDF Board or wood of your choice
- Foam Batting (optional)
- Nail gun, Compressor and nails
- Loctite Go2 glue
- 2 short pieces of scrap wood at least an inch thick
- 2 D-Rings
- Circular saw (Optional) (Get your wood cut for free at the hardware store if you don’t have one)
- Staple guns and Staples
- Fabric
Here's a before for your reference.
Step 1-Determine your Valance Size
Measure the width window and where you want the valance to hang. My window was 36 inches wide.
Step 2-Cut the Wood for your valance
You’ll need three pieces of cut wood or MDF to make the valance.
- Long front board. Cut your long board four inches wider than the window, to allow 2 inches on each side for hanging and aesthetic. (I made mine 40 inches wide x 11 inches high
- Short boards to form the sides. Cut them the same height of the long board and 3 inches wide. (I made mine 3 inches wide x 11 inches tall)
Step 3- Assemble the cornice boards
Stand the long board on its side and add glue to the edge. Then use a nail gun to attach. My MDF was very thin. If you’re not using scraps like me, a drill and screws work great (like the original tutorial)
Step 4-Iron your fabric and attach it to the board
Once you have the shape of the valance, it’s time to wrap it up. I used foam batting on it, but it’really wasn’t necessary. Staple it in place. Lay the fabric right side down and lay your valance on top. Make sure your pattern is lined up exactly where you want it. Carefully staple it on to the board. Neatly tack the corners by folding like a present.The back of your board may be seen from the outside your home depending on where and how low you hang the board. I pulled my fabric almost to the top of the board so I wouldn't have to worry about.
Step 5-Hang the valance.
Adhere scrap boards to each side of the board. Make sure they are recessed into the valance so the valance hangs flush to the wall. Marke and measure where you want the valance to hang.This is where I TRIED to deviate from the tutorial a little. I hate drilling holes in the walls if I can help it. I really despise having to level and measure the said holes. So I attempted to just use heavy duty Velcro on my boards. I hung it and later on in the day heard a crash from the other room. Uh huh. It fell. That reminds me, I need to do a blooper reel for some of these projects. DIY is NOT always what it’s cracked up to be.I ended up being obedient and just adding the D-rings. And it worked out great.This took me about 2 hours to complete…plus another 20 minutes once it fell and I had to rehang. Normal humans could probably do this in an hour, but I'm a bit of a slowpoke.

 To join next month's challenge, click here to sign-up ⇒ April Pinterest Challenge
Now let's see what other things Pinterest inspired! Head over and visit the other hosts to see what they crafted, cooked, built, or tried!

Erlene - My Pinterventures • Shirley - Intelligent DomesticationsJenny - Cookies Coffee and CraftsJoanne - Our Unschooling Journey • Magen - The Kusi LifeRoseann - This Autoimmune Life • Kelli - The Olympic NestLynne - My Family Thyme • Beverly - Across the Blvd.Debra - Shoppe No. 5 • Pili - My Sweet ThingsLaurie - My Husband Has Too Many Hobbies • Kristie - TeadoddlesJulie - Sum of their Stories • Gwen - Geez, Gwen!Marie - The Inspiration Vault • Candice - Fearlessly Creative MammasT'onna - Sew Crafty Crochet • Kenyatta - My Design RulesCherryl - Farm Girl Reformed • Lisa - BlogghettiLeslie - Once Upon a Time & Happily Ever AfterMicah - Home Faith Family • Kelley - Simply Inspired MealLauren - Mom Home Guide • Deborah - Salvage Sister & MisterGail - Purple Hues and Me • Terri - Our Good LifeLauren - Wonderfully Made • Sue - A Purdy Little HouseToni - Small Home Soul • Maureen - Red Cottage ChroniclesMarci - Stone Cottage Adventures • Michelle - Our Crafty MomEmily - Domestic Deadline • Maria - Tinselbox