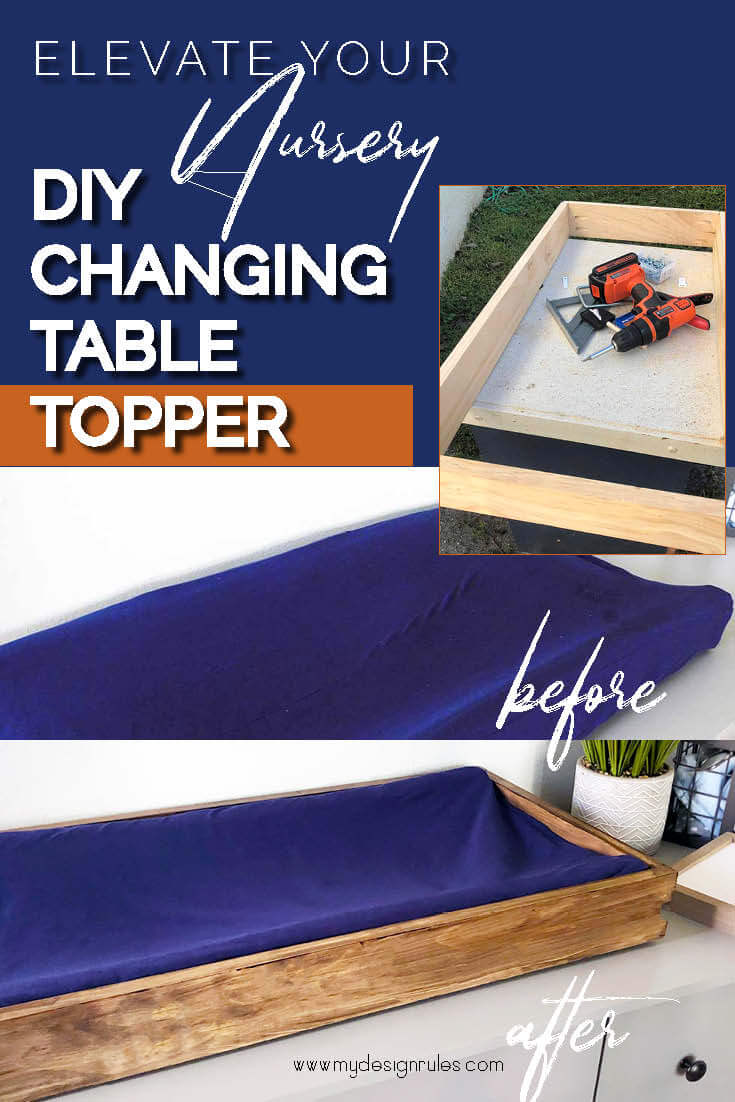
Changing diapers is NOT the most glamorous job when it comes to babies, but if you have to do it, at least you can do it with some style. I made this DIY baby changing table topper for my sister’s baby boy nursery simply because it was pretty. Nothing remotely practical about it.
I made this for the One Room Challenge. This is a super easy build for a beginner woodworking project. As a matter of fact, it was the first time I even used a Kreg jig. Want to make your own? Here’s how.
This post contains affiliate links for your convenience. If you click on a link and make a purchase I earn a small commission to help me run this site at no cost to you. Read my full disclosure here.
Supplies for your table topper
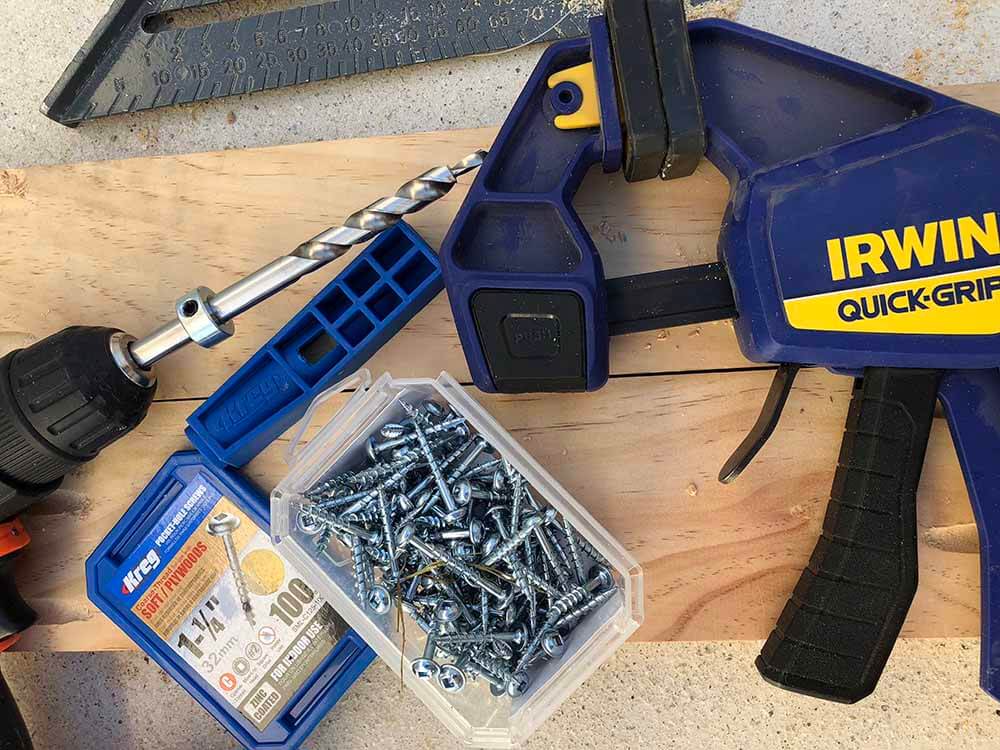
- 1 1″x4″x10’ board
- 8 1-1.25″ pocket hole screws (you could use a brad nailer and glue…but the pocket holes are much stronger)
- Stain (I used I used Rustoleum One Step Stain & Polyurethane Water-Based in Kona)
- Foam Brush
- Wood Glue
- Felt pads
Tools
- Clamp
- Kreg jig mini (use it to make pocket holes)
- Saw (manual or power) I LOVE This Hitachi Miter Saw.
- Drill (this drill set has everything you need)
Wood Cuts
(Make sure you measure your changing pad…DO NOT rely on these measurements or the ones online. Trust me on this one.)
- 2 boards a 15.25″
- 2 boards at 32.25″
Cost
Ok, so lots of tutorials will tell you they only spent $10 for wood for a project and that’s all well and good… but lemme keep it real. If you have to buy ALL the tools and supplies, this could cost you. I assume you own a drill, but otherwise, to make this table changing topper, you’ll spend about $20 for the Kreg jig, another $15 or so for a good clamp, and then pocket hole screws and THEN buy the board. That adds up pretty quick. BUT the NEXT build will be significantly cheaper. I like to add to my tool arsenal slowly and then these projects will be as cheap as they appear.
NOTE: I asked for a for a miter saw for Mother’s Day and it has been THE BEST GIFT EVER! There are so many projects it’s useful for. So far I added baseboards to my kitchen, made picture frames, added molding in any place I could, and I’ve got big plans for even more. Such a good investment.
Seriously you need this miter saw in your life.
Sorry about the long tangent, but so necessary.
Time: This should take you an hour including the time it takes to figure out the Kreg jig. It’s lightning fast. I will not act like an expert…I followed these instructions on using a mini Kreg jig.
DIY changing table topper tutorial
I know you’re accustomed to my super long explanations of projects. But umm…It honestly took me longer to figure out how to use the Kreg jig and clamp than to actually do the project. BUT here’s a special bonus…I videoed the process on my Instagram stories. So you can at least see how it went down.
Step 1
Mark and cut your wood. These are all simple 90-degree cuts.
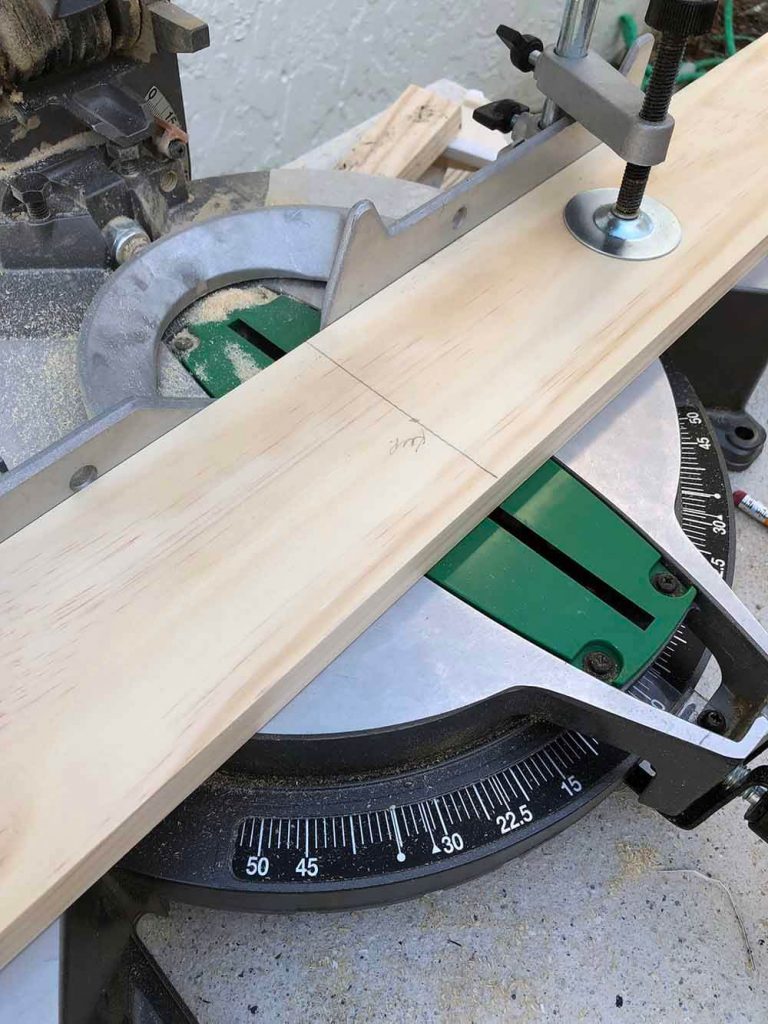
I always write keep on the portion I need and cut on the waste side of my marked like NOT on the line directly.

I use my first cut as a template to ensure my cuts are uniform.
Step 2
Drill four pocket holes on the two short pieces. Two on each end.
Step 3
Assemble the changing table topper using 1.25″ pocket hole screws. (These take a square drill bit) Make sure you glue everywhere wood touches wood.
I added felt to the bottom of the board to prevent scratching the paint on the baby dresser.
Step 4
You can choose to stain it before or afterward. I stained after assembly and I wished I had done it before. The crevices were a little difficult to reach, but no big deal. I applied one coat of stain using the same color as the large wall art here Rustoleum One Step Stain & Polyurethane Water-Based). If you want it darker, you can apply two coats.
Now again, this table topper was for show only, doesn’t add a lick of function the room, but LOOK!
Without
With:
With is soooo much better right?
Told ya.
And admittedly you could just buy this thing. Check this walnut changing table topper out…BUT for the same or a little less, you could build it AND have all the tools to do your next project. To me, it just made sense to make it.
One Room Challenge Update-Week 3
Ok. Folks, we’re at the ½ way mark.
If you’re following along on my Instagram Stories, (you should be) you know my sister already had the baby, so I had one weekend to get the room in functional order. It looks awesome, but you’ll have to wait till reveal day (November 8) to see it. It’s not 100% done so I’ll still keep sharing projects every week till then.
If you need to catch up on the Challenge, check out these posts:
Week 1 | How to set up and decorate a baby nursery (In 6 weeks!)
Week 2| How to make a simple wooden picture frame for large art prints
Week 3 | Oh So Cute DIY Changing Table Topper (you are here)
Week 4 | When Bright Ideas Go Dark-ORC Nursery Update
Week 5 |How to Make a Mobile: A Modern Hanging for Your Baby Nursery
Week 6 |Room Reveal-Simple DIY Room Décor for your Baby Nursery
Marci says
Love this!! Your mood board looks amazing! Can’t wait to see the finished room!
Kenyatta Harris says
Thanks Marci, I can’t wait for reveal day!
Libbie says
I love the bold blue. Can’t wait to see the final reveal.
Ola says
This is coming together so nicely Kenyatta! And I’m so impressed with your ever growing DIY skills. Congrats to your sister and the entire family on the new baby!
Kenyatta Harris says
Ha! Thanks Ola, this was so easy I can’t even call it a skill. I’m so happy with the new addition to our family.
Nichole Clark says
Beautiful! As an expecting mother that hasn’t bought anything yet, I feel like I can do this! By the way, I love your website and your style. It is beautiful. I would love to know what plugins or tools you use to make your lead magnets? I love them!!! Thanks
Kenyatta Harris says
Hi Nichole, you can SO do this! I’d love to know if you try it.
Thanks so much for your kind words about my site. I used Mailerlite for all my interaction and then I create graphics in Adobe Indesign.